Inatool
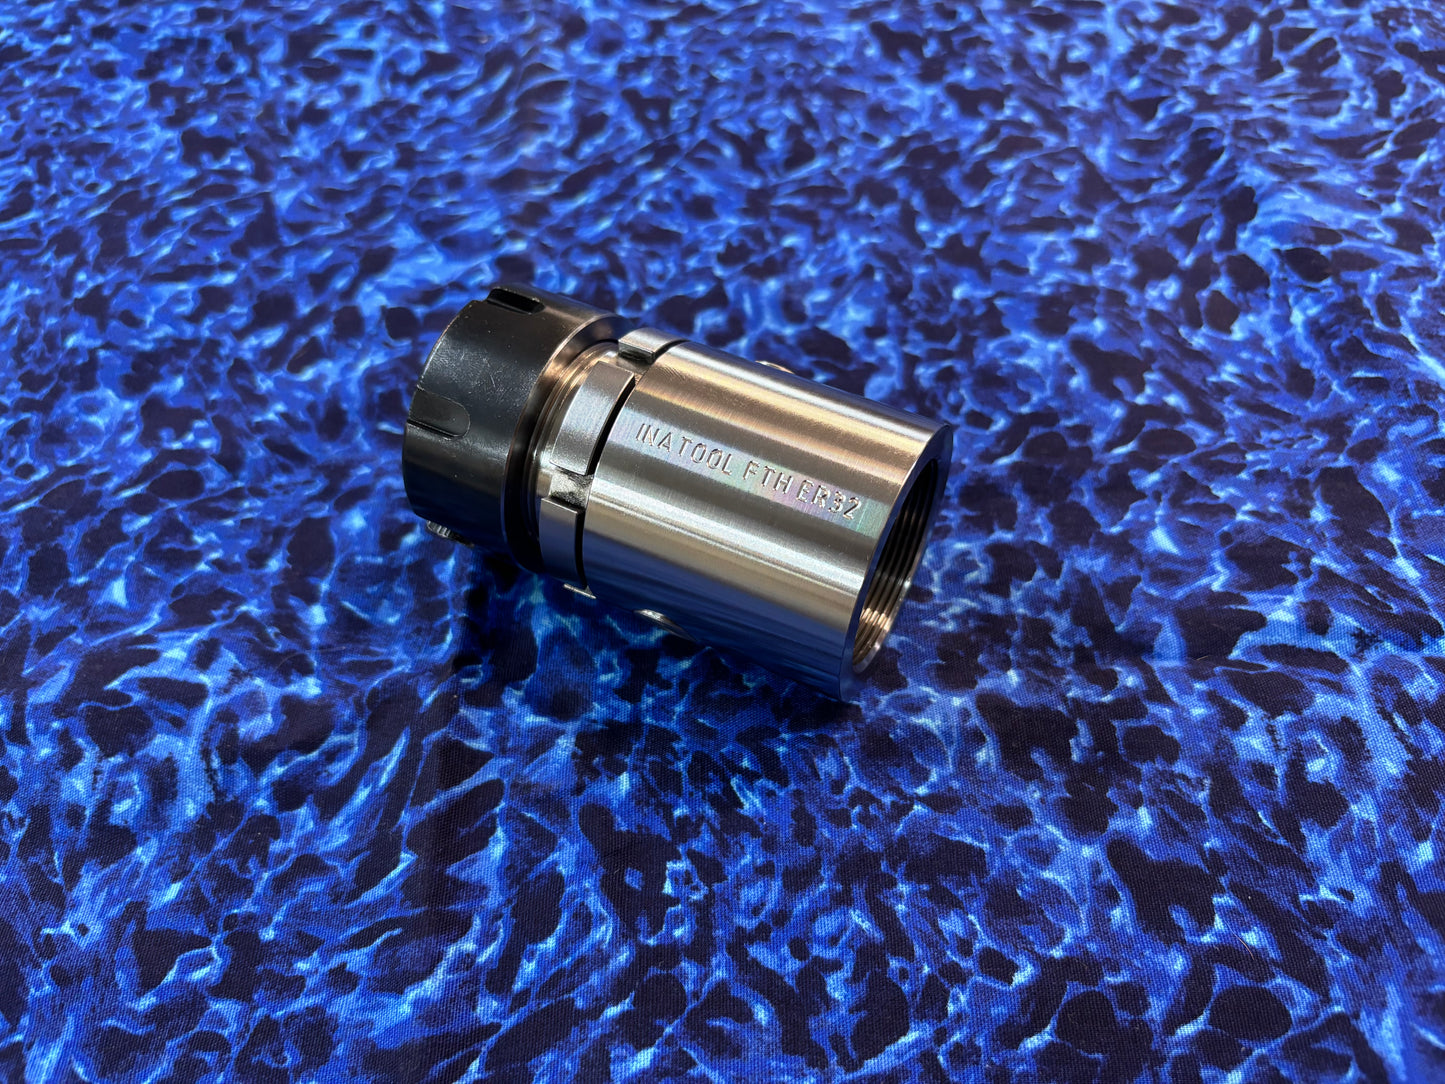
Inatool Floating Tool Holder ER32
Inatool Floating Tool Holder ER32
Couldn't load pickup availability
Limited Small Batch Quantity Available Now
If you choose to order now, there is a limited small batch quantity of Inatool floating tool holders remaining and available now. The next production batch has no guaranteed timeline.
Included: Inatool Floating Tool Holder with ER32 Collet Nut
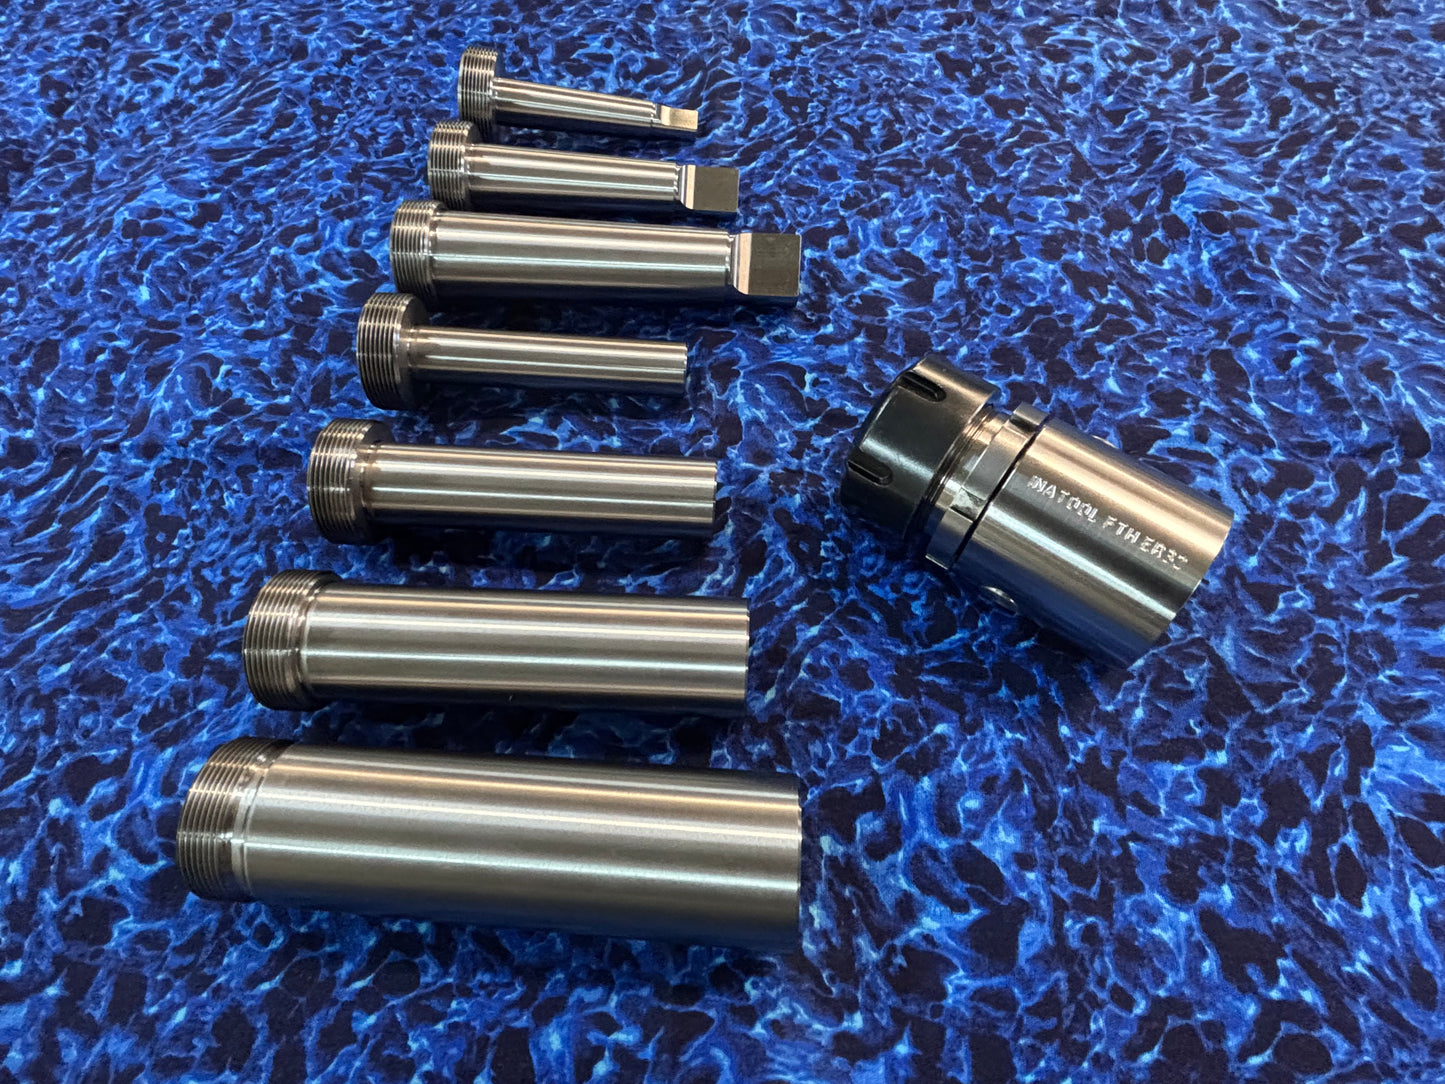
Note: Inatool offers compact, thread-in shanks separately.
Proudly Made in the USA | Patent Pending
Watch the demonstration video to see the brutal 7/8" drill bit test in action.
The Inatool floating tool holder was recently developed to be robust, compact, and have excellent free-floating characteristics. It utilizes a new type of mechanical structure that allows for simultaneous 0.050-inch radial float and 3-degree angular float.
The Inatool Floating Tool Holder can float in two modes simultaneously both angularly and radially. Most other common floating holders on the market only float in one mode (either angular or radial). Floating in only one mode is undesirable because it does not properly compensate for a tool held out of position. If the tool is off radially, the angle may also be thrown off. If a reamer is held with any misalignment, it behaves like a boring bar. This produces oversized, tapered holes or chambers and negatively affects the surface finish.
The Inatool Floating Tool Holder features a free-floating joint mechanism that allows all compensating motion to come from a centralized theoretical pivot point and radial offsetting location. This mechanism provides smooth compensation without creating undesirable reaction forces that alter the tooling position and cause problems.
Features & Specifications
Simultaneous Compensation: Large amount of travel with both .050-inch radial float and 3-degree angular float
Vibration Control: Built-in, dampening rubber O-rings reduce machine chatter and vibration while providing centering. The moment the tool encounters cutting resistance, the mechanism actively stiffens under rotational torque to disrupt chatter.
Tool Capacity: Commonly available ER32 collets can hold tiny tools (under 1/16-inch) as well as large tools (up to 7/8-inch). The collets can collapse down 1/32-inch smaller than their listed size. (Note: The maximum size is engraved on each ER collet). Most standard collet sets only go up to 3/4-inch, but larger sizes up to 7/8-inch are available for purchase.
Interchangeable shanks: Standard 1-1/2"-18 TPI boring head thread for installing screw in interchangeable shanks. A user preference may be to purposely unscrew the holder from the threaded shank to blow off chips built up on the reamer. (If doing this oil or grease the threads) (Note: Inatool has produced compact interchangeable shanks for purchase).
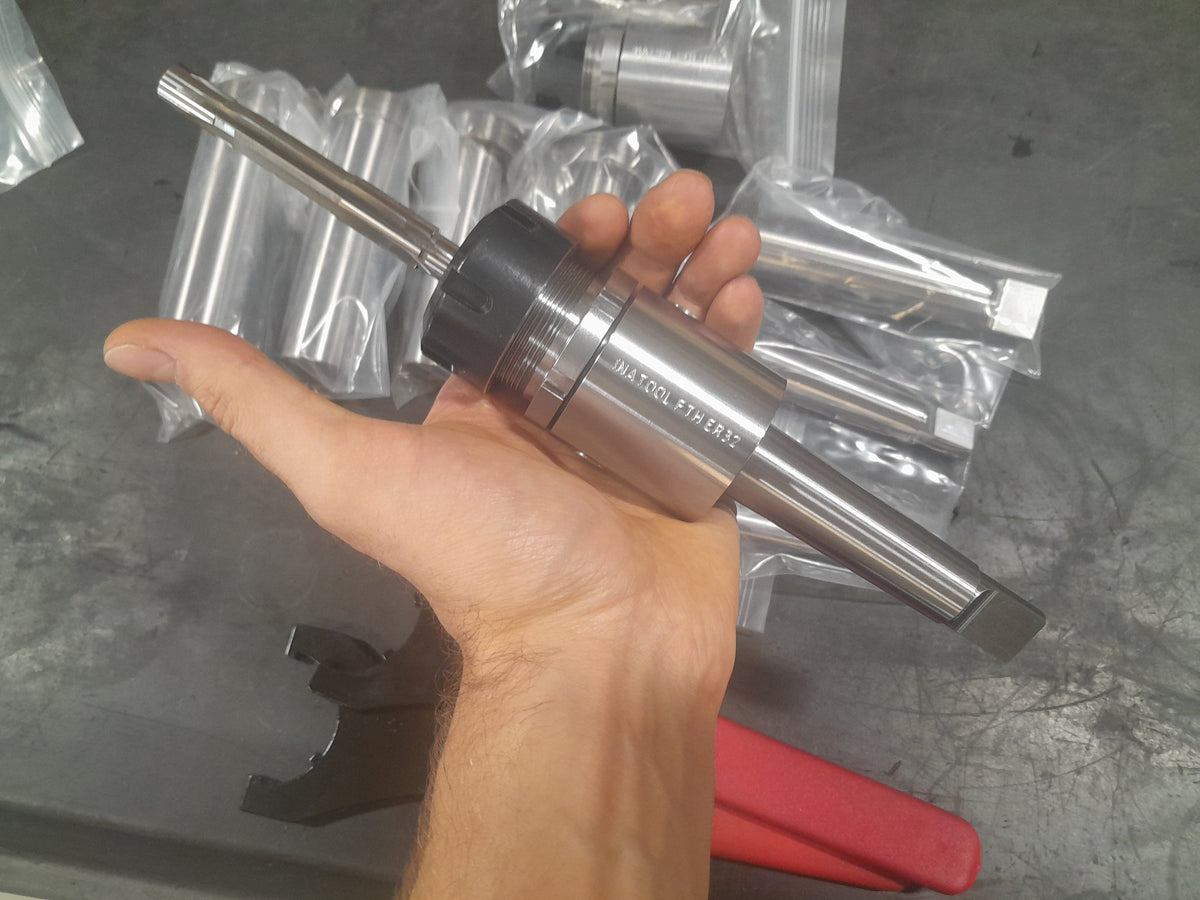
Compact Design: Minimizes footprint on small machines. Features easy wrench grip locations and utilizes a standard ER32 collet wrench.
Collet Compatibility & Wrench Details: Utilizing a collet on a floating holder allows you to hold many different reamers for part machining or barrel chamber reaming. Additionally, the collet can act as a clutch, preventing damage to expensive reamers. To easily install or remove collets, simply use two ER32 wrenches. These widely available tools are often called slotted-type ER32 collet wrenches or ER-32UM collet chuck wrenches. Spanner-type wrenches can also be used if sized appropriately.
Simple 2-Minute Maintenance: The Inatool floating tool holder can be disassembled, oiled, and reassembled in two minutes using a single Allen wrench.
Tools Needed: M2 Allen wrench (to loosen the two set screws). An O-ring pick is optional (you can also just use the Allen wrench). (Note: O-rings don’t have to be removed for pins to be pushed out.)
Disassembly Steps: Loosen the two set screws on the front of the body. Push out the pin. Pull out the ER32 holder body. Remove the o-rings. Push out the remaining pin. Lube with oil or light grease
Torque Spec: M4 set screw max torque - 14-inch pounds.
Operating Notice: Always follow standard safety guidelines and precautions when using this tool. If you run the floating holder in a mill where the holder spins, do not exceed a maximum speed of 500 RPM. Spin clockwise only. Thread on shanks will unscrew if spinning wrong direction. Reaming typically works best at low speeds (50–300 RPM), depending on tool size and other variables. Perform your own testing to determine what works best for your setup.
O-Ring Configuration: When internal O-rings are installed, they restrict the free-floating properties of the holder and introduce a self-centering bias. If you choose to run the holder with O-rings, your machine spindle and workpiece must be dialed close to centerline alignment before operation. If things are misaligned, the tool will fight and bias the O-rings, which can lead to mixed or inconsistent machining results. For operations requiring more compensation, consider removing the internal O-rings entirely. Do your own testing and find out what works for you.
The axial stiffener was an secondary configuration, but it does seem to be working well. This axial stiffener was produced because the Inatool floating tool holder is used to cut valve seats, which takes a lot of cutting pressure. The axial stiffener is a very simple part—just a metal piece that looks like a section of a ball bearing. It goes where the small O-ring goes, and it is meant to pivot and allow free-floating movement as usual, but it backs up the parts and helps remove axial play.
User-configurable design, giving you the choice to install either the small O-ring or the axial stiffener in the back internal cavity. Note: Floating tool holders will come preinstalled with the axial stiffener part.
Tool Tip Influence Notice: Because this is a floating holder, the tip of the tool can be influenced and moved around by hand. Remember just because the tip of your tool looks centered that doesn't mean the body is centered also because of the O-rings you can move the position of the tool tip by hand. This is a consideration when starting to ream a hole and when pushing in or pulling out the cutting tool.
Alignment Note: For use on a lathe tool post It is recommended to indicate in the body part of the floating holder you can remove the floating tool holder collet mounting part from the body if needed for extra room. Put a magnetic indicator arm on your lathe spindle and put the indicator tip in contact with the ID or OD of the floating tool holder body. Next rotate the lathe spindle with indicator around and position the tool until close to zero indicator movement is achieved. When doing this method, the gravity sag of the indicator is a consideration. You may also sweep the side of the body to check your tool post squareness.
Real-World Reaming Success Guide:
A floating tool holder is meant to fix tool alignment problems it alone cannot fix fundamental real world machining problems. Reaming is a precision process with many interconnected variables. Testing is always required to find out what works best for your specific machine, material, and tooling. Keep these common factors in mind.
Curved Pre-Drilled Holes: If your pre-drill operation produces a curved or walking hole, the reamer will naturally try to follow that bent axis. This creates immense lateral pressure that can push the reamer out of tolerance or cause severe binding.
HSS vs Carbide Tooling: You may have better luck using standard High-Speed Steel (HSS) reamers over solid carbide options. Carbide is exceptionally rigid and brittle. Counterintuitively, really sharp reamers may be pushed by chips and cause more problems than a duller reamer.
Incorrect Feed and Speed: Reaming typically requires low speeds and higher feeds. Running too fast or feeding too slow will burn tools and ruin hole finishes.
Vibration harmonics: In general If you run into vibration, one of the simplest ways to reduce chatter is to drop your RPM—or slightly tune it a little faster or slower—until the harmonics smooth out.
Tool Chatter: Because floating tool holders have to float freely when torque is applied, they cannot bias themselves away from the true neutral position of the workpiece. Some floating tool holders can actively pull your tool out of alignment when torque is applied, which can cause tool binding and chatter. Floating tool holders often have loose internal parts that may not transfer torque in a desired way, causing cutting forces to trigger internal resonant vibration. Holding a reamer rigidly can cause it to bind up and induce chatter because of misalignment. The Inatool floating tool holder has two vibration-reducing methods, which are the internal dampening O-rings and a mechanism that dynamically stiffens under torque to reduce harmonics.
Workpiece Chatter: A barrel for example is a long, slender tube. Under cutting pressure, the barrel itself can ring and vibrate. Even with a rigid reamer holder, if the workpiece is chattering, your finish will suffer. Consider damping the barrel itself (using barrel weights, chuck pressure, or external dampening wraps) to reduce harmonics.
Sticky Materials: Materials like aluminum, mild steel, stainless steel, or soft plastics can stick to cutting edges, leading to built-up edge and oversized holes.
Lubrication: Use the proper lubrication for the material being reamed.
Chip Compacting: Ensure chips clear the hole. If chips pack tight into the flutes, the reamer will bind, score the walls, or break.
Incorrect Pre-Hole Size: Leaving too much or too little material will cause problems. If the drilled hole is too small, the reamer acts like a drill and wanders. If it is too big, the reamer will burnish and not cut properly.
Workpiece run out: When trying to achieve near-zero runout with a reamer on a lathe part bore, consider trying the following procedure. Drill your workpiece with a .020" smaller drill diameter than the finish diameter of your reamer. Next, use a boring bar to bore halfway through with a diameter roughly .010" smaller, and then bore a starting diameter .001" smaller and .200" deep.
Tool Geometry: The reamer design must match your application. Factors like flute count, spiral vs. straight flutes, and entry chamfer angles all change how the tool behaves. The reamer itself may simply not be a good fit for your specific application.